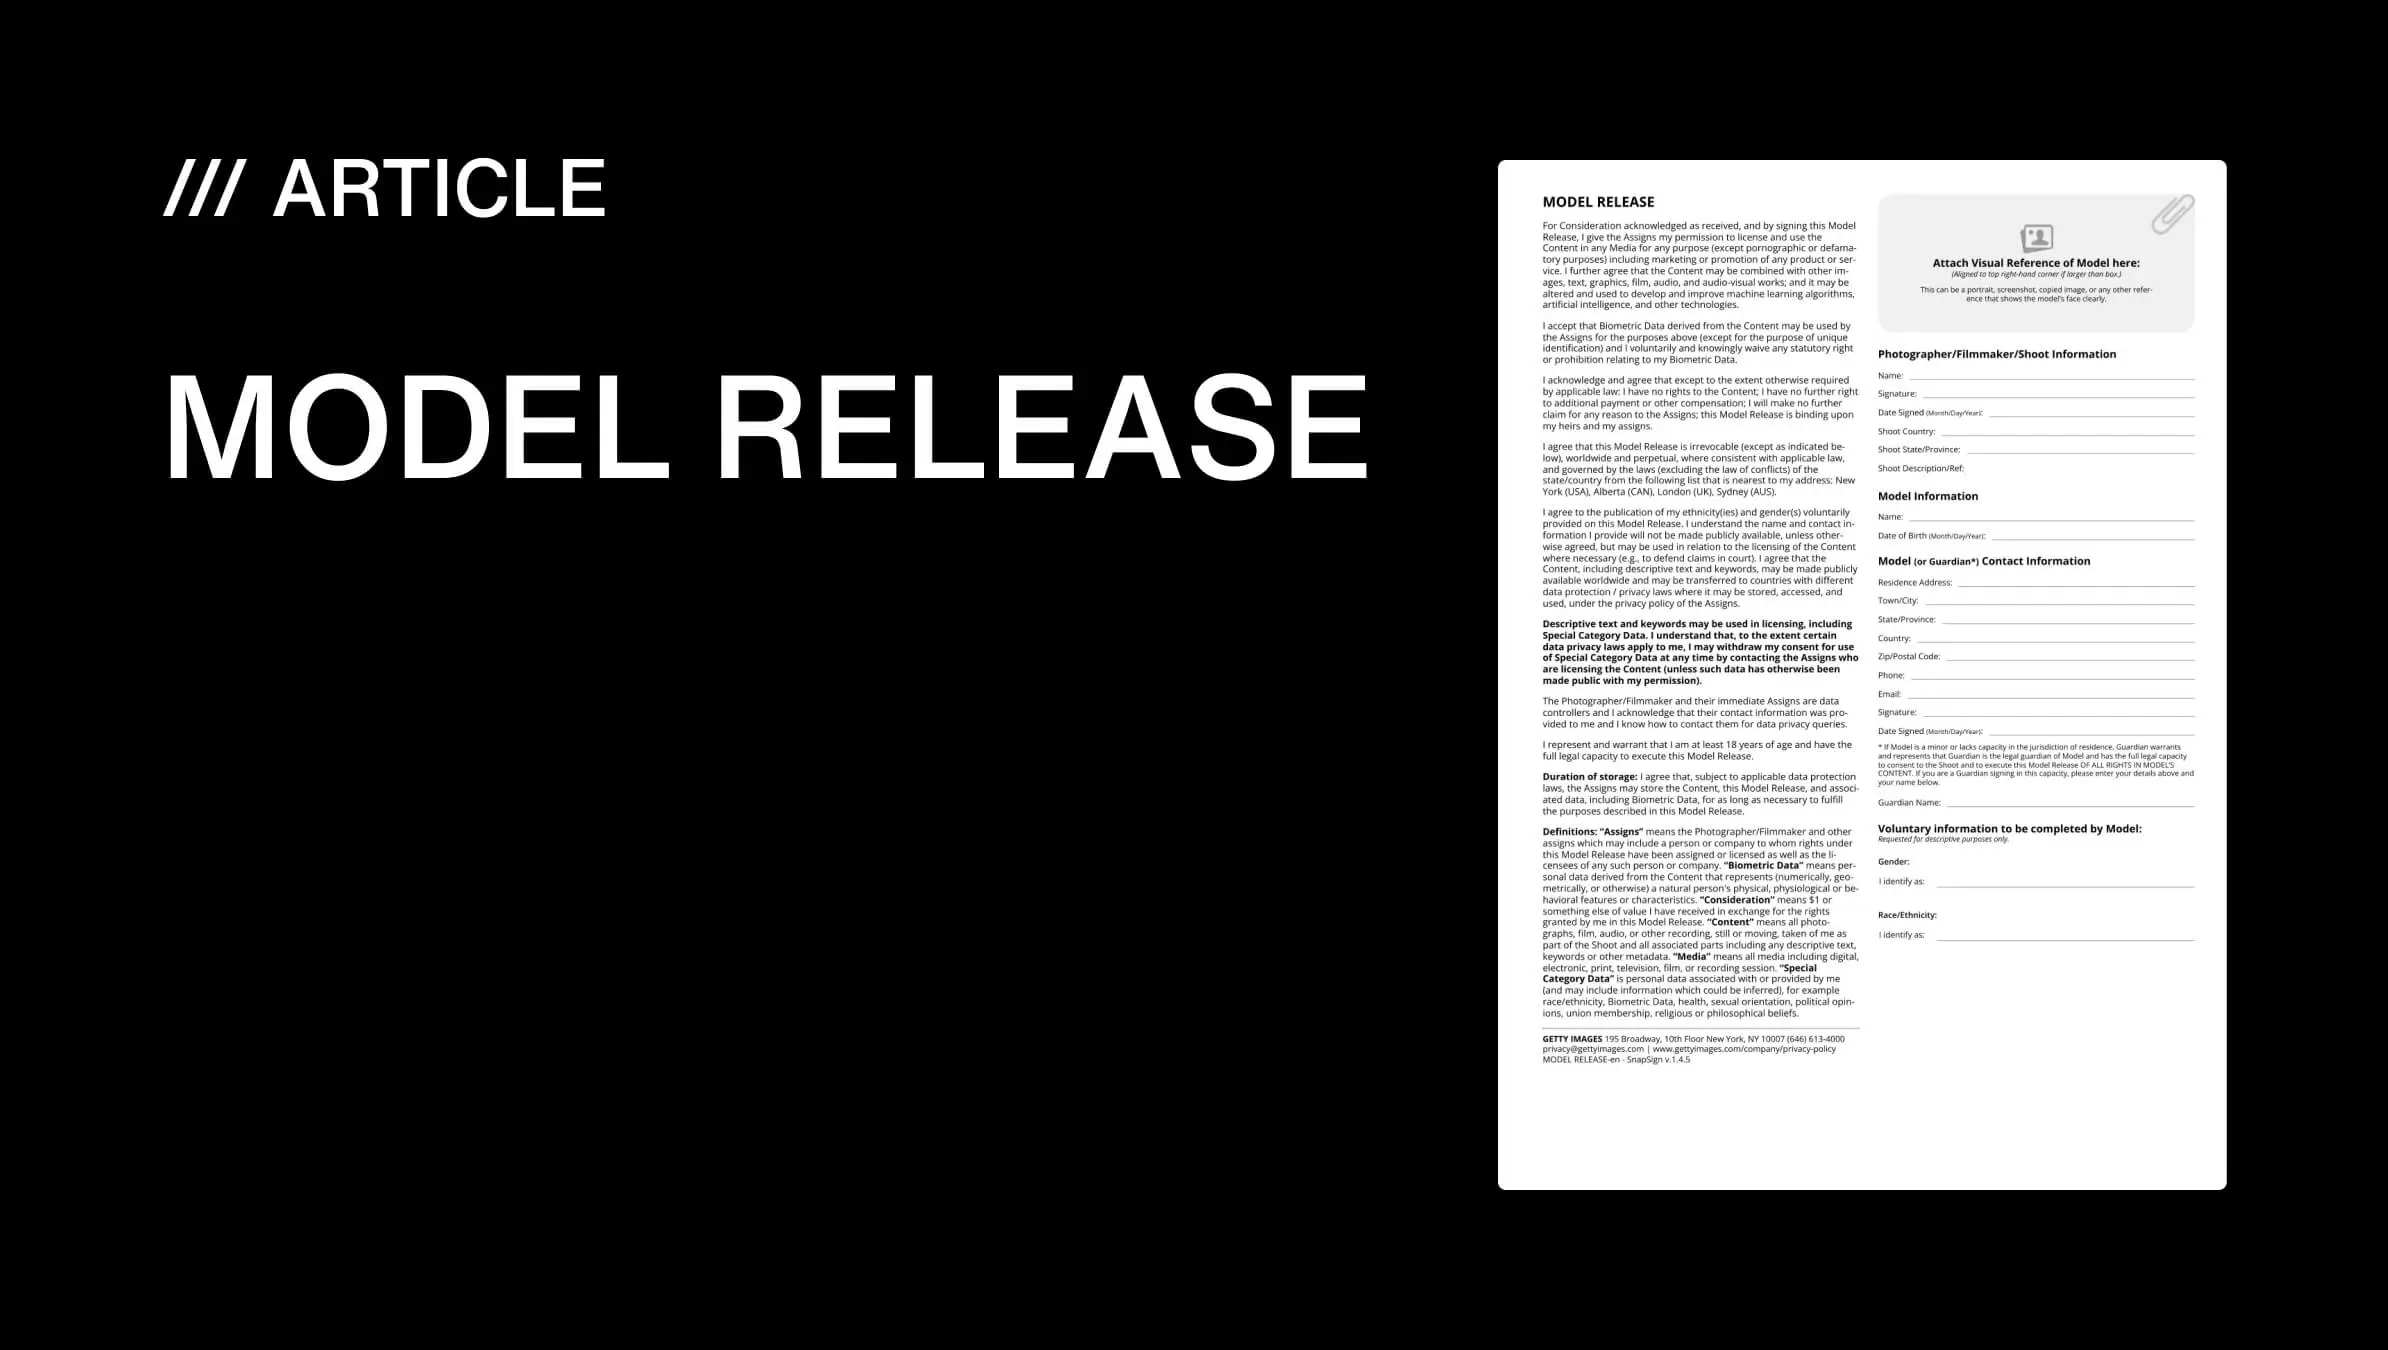
My name is Pavel Demidovich. I am a film photographer, filmmaker, and the founder of SnapSign — a mobile app for creating and signing model releases on set.
Across my career, my work has been featured in more than 30 international exhibitions across 14 countries — from a billboard in Times Square during New York Art Week to gallery walls in Paris, Seoul, Singapore, and Bali. My short films The Heart of Photography and Analog Waves have screened at over 10 festivals in the U.S., Europe, and Asia.
This article is what I wish I had read before my first submission. No theory. No generic advice recycled from a content mill. Just what actually worked — and what cost me time and money before I learned better.
If you only remember one thing
- Start with group exhibitions — they are the most accessible format and build the CV you need for solo shows. - Submit two to four times per month. Volume smooths out the rejection curve. Consistency beats talent. - Keep one cohesive portfolio of 8–20 images ready at all times. A focused series beats an exhaustive archive every time. - Track every submission in a spreadsheet. Deadlines, fees, themes, results. Patterns emerge around month six. - Do not fear rejection. Curators are not judging your worth — they are fitting pieces into a puzzle you cannot see.The Short Answer
Exhibiting your photography internationally is not reserved for gallery-represented artists with decades of credentials. The real path runs through open calls, group exhibitions, and a portfolio that speaks clearly to curators — not a CV that impresses them. Start with free and low-cost digital open calls to build exhibition history. Move to physical group shows in cities with active art scenes — Paris, New York, Milan, Seoul. Submit consistently. Treat rejection as data, not failure. In two years, you can build an international exhibition record that opens doors you did not know existed. The rest of this article shows you exactly how, step by step, drawn from my own path from first submission to 30+ shows.
Types of Exhibitions — And Which One You Should Start With


A photography exhibition is any public showcase of photographic work — on gallery walls, on digital screens at art fairs, or in outdoor installations. Not all photography exhibitions are equal. Each format serves a different stage of your career, and picking the wrong one too early wastes money and confidence. Here is what actually exists in the real world — not the art-school brochure version.
Group Exhibitions: Your Entry Point
A group exhibition places your work alongside other photographers and visual artists in a curated selection. This is the most accessible format and the one you should target first. You do not need a gallery track record to get in — curators building group shows are actively looking for new voices that fit a theme.
Group exhibitions build your CV, expand your audience, and create the exhibition history that solo-show applications demand later. They also teach you how the exhibition pipeline works: submission deadlines, print specs, shipping logistics, installation. You learn all of this at someone else’s expense, inside someone else’s infrastructure. When things go wrong — and they will — you are not the one who loses the deposit on the venue.
What to look for in a group exhibition open call:
- A clear curatorial theme — vague calls attract vague results
- Evidence of previous shows — check the organizer’s Instagram or website for past exhibitions
- Transparent costs — submission fees are normal; hidden printing and installation fees are a red flag
- A real venue, even if small — a physical gallery beats a “virtual exhibition” that exists only as a PDF
Solo Exhibitions: The Goal, Not the Starting Line
A solo show is where your artistic voice gets the full room. You control the curation, the narrative, the promotion. It can be a career turning point — galleries notice solo shows. Collectors notice solo shows. But solo exhibitions are expensive, logistically complex, and nearly impossible to land without an exhibition history or a gallery relationship.
Do not aim for a solo show in your first year of exhibiting. Build through group shows first. When a curator or gallery approaches you about a solo exhibition — rather than you chasing them — you are ready.
Digital Exhibitions: Low Cost, Global Reach
Digital exhibitions display your work on screens in physical spaces — galleries, art fairs, public installations — or entirely online. They cost less than physical print shows because you skip printing, framing, and shipping. The trade-off: they carry less prestige and rarely lead to the same depth of networking.
Digital exhibitions work best as a supplement to physical shows, not a replacement. They keep your exhibition calendar active between physical events and reach audiences in cities you cannot travel to. Several of my early milestones were digital shows — they built momentum while I figured out the logistics of physical exhibiting.
Open Calls: Paid vs Free — A Reality Check
| Type | Typical Cost | Competition Level | Best For |
|---|---|---|---|
| Free open calls (museums, cultural institutes) | $0 | Very high | Established portfolios with a clear artistic identity |
| Low-fee open calls ($20–$40) | $20–$40 | Moderate | Emerging photographers with a strong, cohesive series |
| Standard open calls ($50–$80) | $50–$80 | Moderate to low | Photographers targeting specific themes or niches |
| High-fee / pay-to-exhibit | $100+ | Low | Avoid — these are often vanity galleries, not legitimate exhibitions |
Free open calls from museums and publicly funded institutions are the most competitive for a reason — they are legitimate, well-attended, and cost you nothing beyond printing and shipping. Low-fee calls ($20–$40) are the sweet spot for emerging photographers. Avoid pay-to-exhibit schemes where the fee is clearly the business model — if the organizer makes money from submission fees rather than ticket sales or grants, the exhibition is likely an empty room.
Knowing the types of shows is step one. But knowing where to start — which format to reach for first, and which to build toward — comes from experience. Here is mine.
My Journey: From Times Square to 30+ International Shows
My exhibition journey did not start with a gallery invitation. It started with a digital open call I found on Instagram at 2 a.m.
The first milestone that felt real was seeing my work on a massive billboard in Times Square during New York Art Week, at The Armory Show. I stood on the sidewalk watching pedestrians glance up at my photograph between the neon and the traffic. It was surreal. More importantly, it was proof: a photographer without gallery representation, without an MFA, without connections in the New York art world — could still get work shown in Manhattan.
That billboard opened the next door, and the next, and the next. Since then, my work has appeared in over 30 exhibitions spanning 14 countries:
- Art Innovation Gallery — New York, Miami (online and offline)
- ImageNation — Milan, Paris, New York
- NFT Factory — Paris
- Singapore Art Museum — Singapore
- Zebu Live — London
- Met Ams — Amsterdam
- NFC Lisbon — Lisbon
- BananaConf — Tallinn
- NFT Bucharest — Bucharest
The geography of these shows — USA, France, Italy, Spain, South Korea, Singapore, Indonesia, China, Estonia, UK, Romania, Netherlands, Portugal — is not a travelogue. Each city represents a different curatorial ecosystem with its own submission culture, its own expectations about print quality and presentation, and its own network of gallerists who talk to each other.
Every exhibition brought something beyond the line on my CV: media coverage, interviews, live installations, conference presentations. My Instagram and X audiences grew measurably after each physical show — people who saw the work in person followed up online. And SnapSign, the product I was building alongside my photography, gained visibility inside the creative industry in ways that ads could not replicate.
Why Exhibiting Matters — Beyond the Ego
Exhibiting internationally is not about prestige. It is about leverage. Here is what it actually gives you:
- Professional relationships that outlast any single show. Curators, gallerists, collectors, and fellow artists you meet at an opening in Paris become contacts you can email six months later about a project. Cold emails get ignored. Face-to-face conversations at a gallery opening do not.
- Sales, licensing, and publishing opportunities. Collectors buy work they have seen in person. Publishers license images from photographers whose names they recognize from exhibition programs. These are not hypotheticals — they are how working photographers build income streams beyond client work.
- A feedback loop you cannot get online. Social media tells you if an image is scroll-stopping. An exhibition tells you if an image holds a room. Those are different skills. Watching strangers stand in front of your print for 30 seconds teaches you more about your work than a hundred Instagram comments.
- An audience beyond the algorithm. Instagram followers are rented — the platform can throttle your reach overnight. An exhibition audience is real: people who saw your name on a wall, picked up a program, and remembered you.
Leverage is useless without opportunity. The next question every photographer asks after deciding to exhibit is: where do I actually find these shows?
Where to Find International Open Calls — The Sources I Actually Use
Finding exhibitions to submit to is half the work. Here are the platforms and approaches that have consistently produced results — not a generic list scraped from Google, but the ones I have personally submitted to and been accepted by.
Platforms That Work
ImageNation runs exhibitions in Paris, Milan, and New York with a mix of digital and physical formats. Their open calls are well-organized, the venues are real, and the curation is coherent. They are a strong starting point for photographers new to international exhibiting.
Art Innovation Gallery focuses on creative digital shows, often outdoors or in unconventional spaces. Their submission process is straightforward and they are open to emerging artists.
PhotoVogue is Vogue’s photography platform — acceptance here means your work enters an international curator database that galleries and publishers actually browse. It is competitive, but the visibility is worth the effort.
NFT Factory Paris and The Hug are newer platforms that blur the line between digital art, photography, and Web3. If your work has a digital or experimental edge, these are worth watching.
For ongoing discovery, I check ArtConnect and CuratorSpace regularly — but the best opportunities often appear on gallery Instagram pages before they hit aggregator sites. Follow the galleries, not just the platforms.
A System for Submissions
The photographers I know who exhibit consistently do not rely on motivation. They rely on a system. Here is mine:
- Set a submission rate. I aim for two to four submissions per month. Not all will land — that is the point. Volume smooths out the rejection curve.
- Track everything in a spreadsheet. Columns: open call name, deadline, fee, theme, submission date, result, notes. After six months, you will see patterns in what works.
- Keep two series ready at all times. One you are actively submitting. One in development. When the first series gets accepted somewhere, the second is ready to submit elsewhere.
- Read the rejection reasons — when they give them. Some curators provide feedback. Read it. Act on it. A rejection with a specific reason is more valuable than an acceptance with no comment.
What the Timeline Actually Looks Like
The gap between “I want to exhibit” and “my work is on a gallery wall in another country” is longer than most first-timers expect. Here is a realistic timeline drawn from my own path and the photographers I have watched go through the same cycle:
| Stage | What happens | Timing |
|---|---|---|
| Build portfolio | Select 8–20 images, write artist statement, build website, create PDF | Month 1 |
| First submissions | Submit to 2–4 free and low-fee open calls per month. Expect mostly rejections. | Months 1–3 |
| First acceptance | You get in. Now the real work starts: printing, framing, shipping. | Month 4–6 |
| Exhibition opens | Your work is on the wall. You attend the opening. You meet curators, gallerists, fellow artists. You post about it everywhere. | Month 6–8 |
| Repeat | You now have exhibition history. Solo-show applications open up. Curators start recognising your name. You submit to the next round — with a stronger CV and a sharper sense of what works. | Month 9+ |
| International body of work | After two years of consistent submitting across multiple countries, you have a global exhibition record — not a one-off, but a sustained presence. This is the point where galleries start reaching out to you. | Year 2+ |
You have found the open calls. Now the real test begins — what happens after you hit submit.
How Curators Actually Evaluate Submissions
Understanding what happens on the other side of the submission portal changes how you prepare. Curators reviewing an open call are not looking for reasons to accept your work — they are looking for reasons to move to the next submission. They have hundreds to get through.
As one Reddit photographer who served as a juror for several international exhibitions put it: “The juror perspective is one of the whole and how the parts fit together. Often the juror’s job is to weave together dozens of images according to a theme. And it may well have been that your work just didn’t fit the theme and could be otherwise excellent work that would succeed in a different context.”
What Curators See in the First 30 Seconds
| What They Look At | What They Decide |
|---|---|
| First image in the series | Does this photographer have a voice, or just a camera? |
| Cohesion across the first 5 images | Is this a body of work or a random collection? |
| Artist statement (first two sentences) | Can this person articulate what they are doing? |
| Exhibition history (glanced, not studied) | Has anyone else validated this work before? |
Notice what is missing from that list: your gear, your technique, your Instagram follower count. Curators care about vision and cohesion. Everything else is noise.
The Single Most Common Rejection Reason
After talking to curators at multiple exhibitions, the pattern is clear: the portfolio lacked a coherent theme. Not that the individual images were weak — they were fine. But fine individual images do not make an exhibition. A series that hangs together — conceptually, visually, emotionally — beats technically perfect images that do not relate to each other.
Another Reddit photographer who submitted concert portraits to an art festival ran headfirst into this problem: the show only accepted landscapes and birds. His portrait work — technically strong, well-framed — was rejected because the curator simply was not looking for portraits. He had not studied what the show actually exhibits before submitting.
This is also why group exhibitions are easier to enter than solo shows. A group show curator needs individual pieces that fit a theme they have already chosen. A solo show curator needs you to provide the theme, the arc, the cohesion. Those are different skills — and the first one is easier to develop.
Curators evaluate your submission in seconds. Your job is to make those seconds count — and that work begins long before you click submit.
Building a Portfolio That Curators Actually Remember

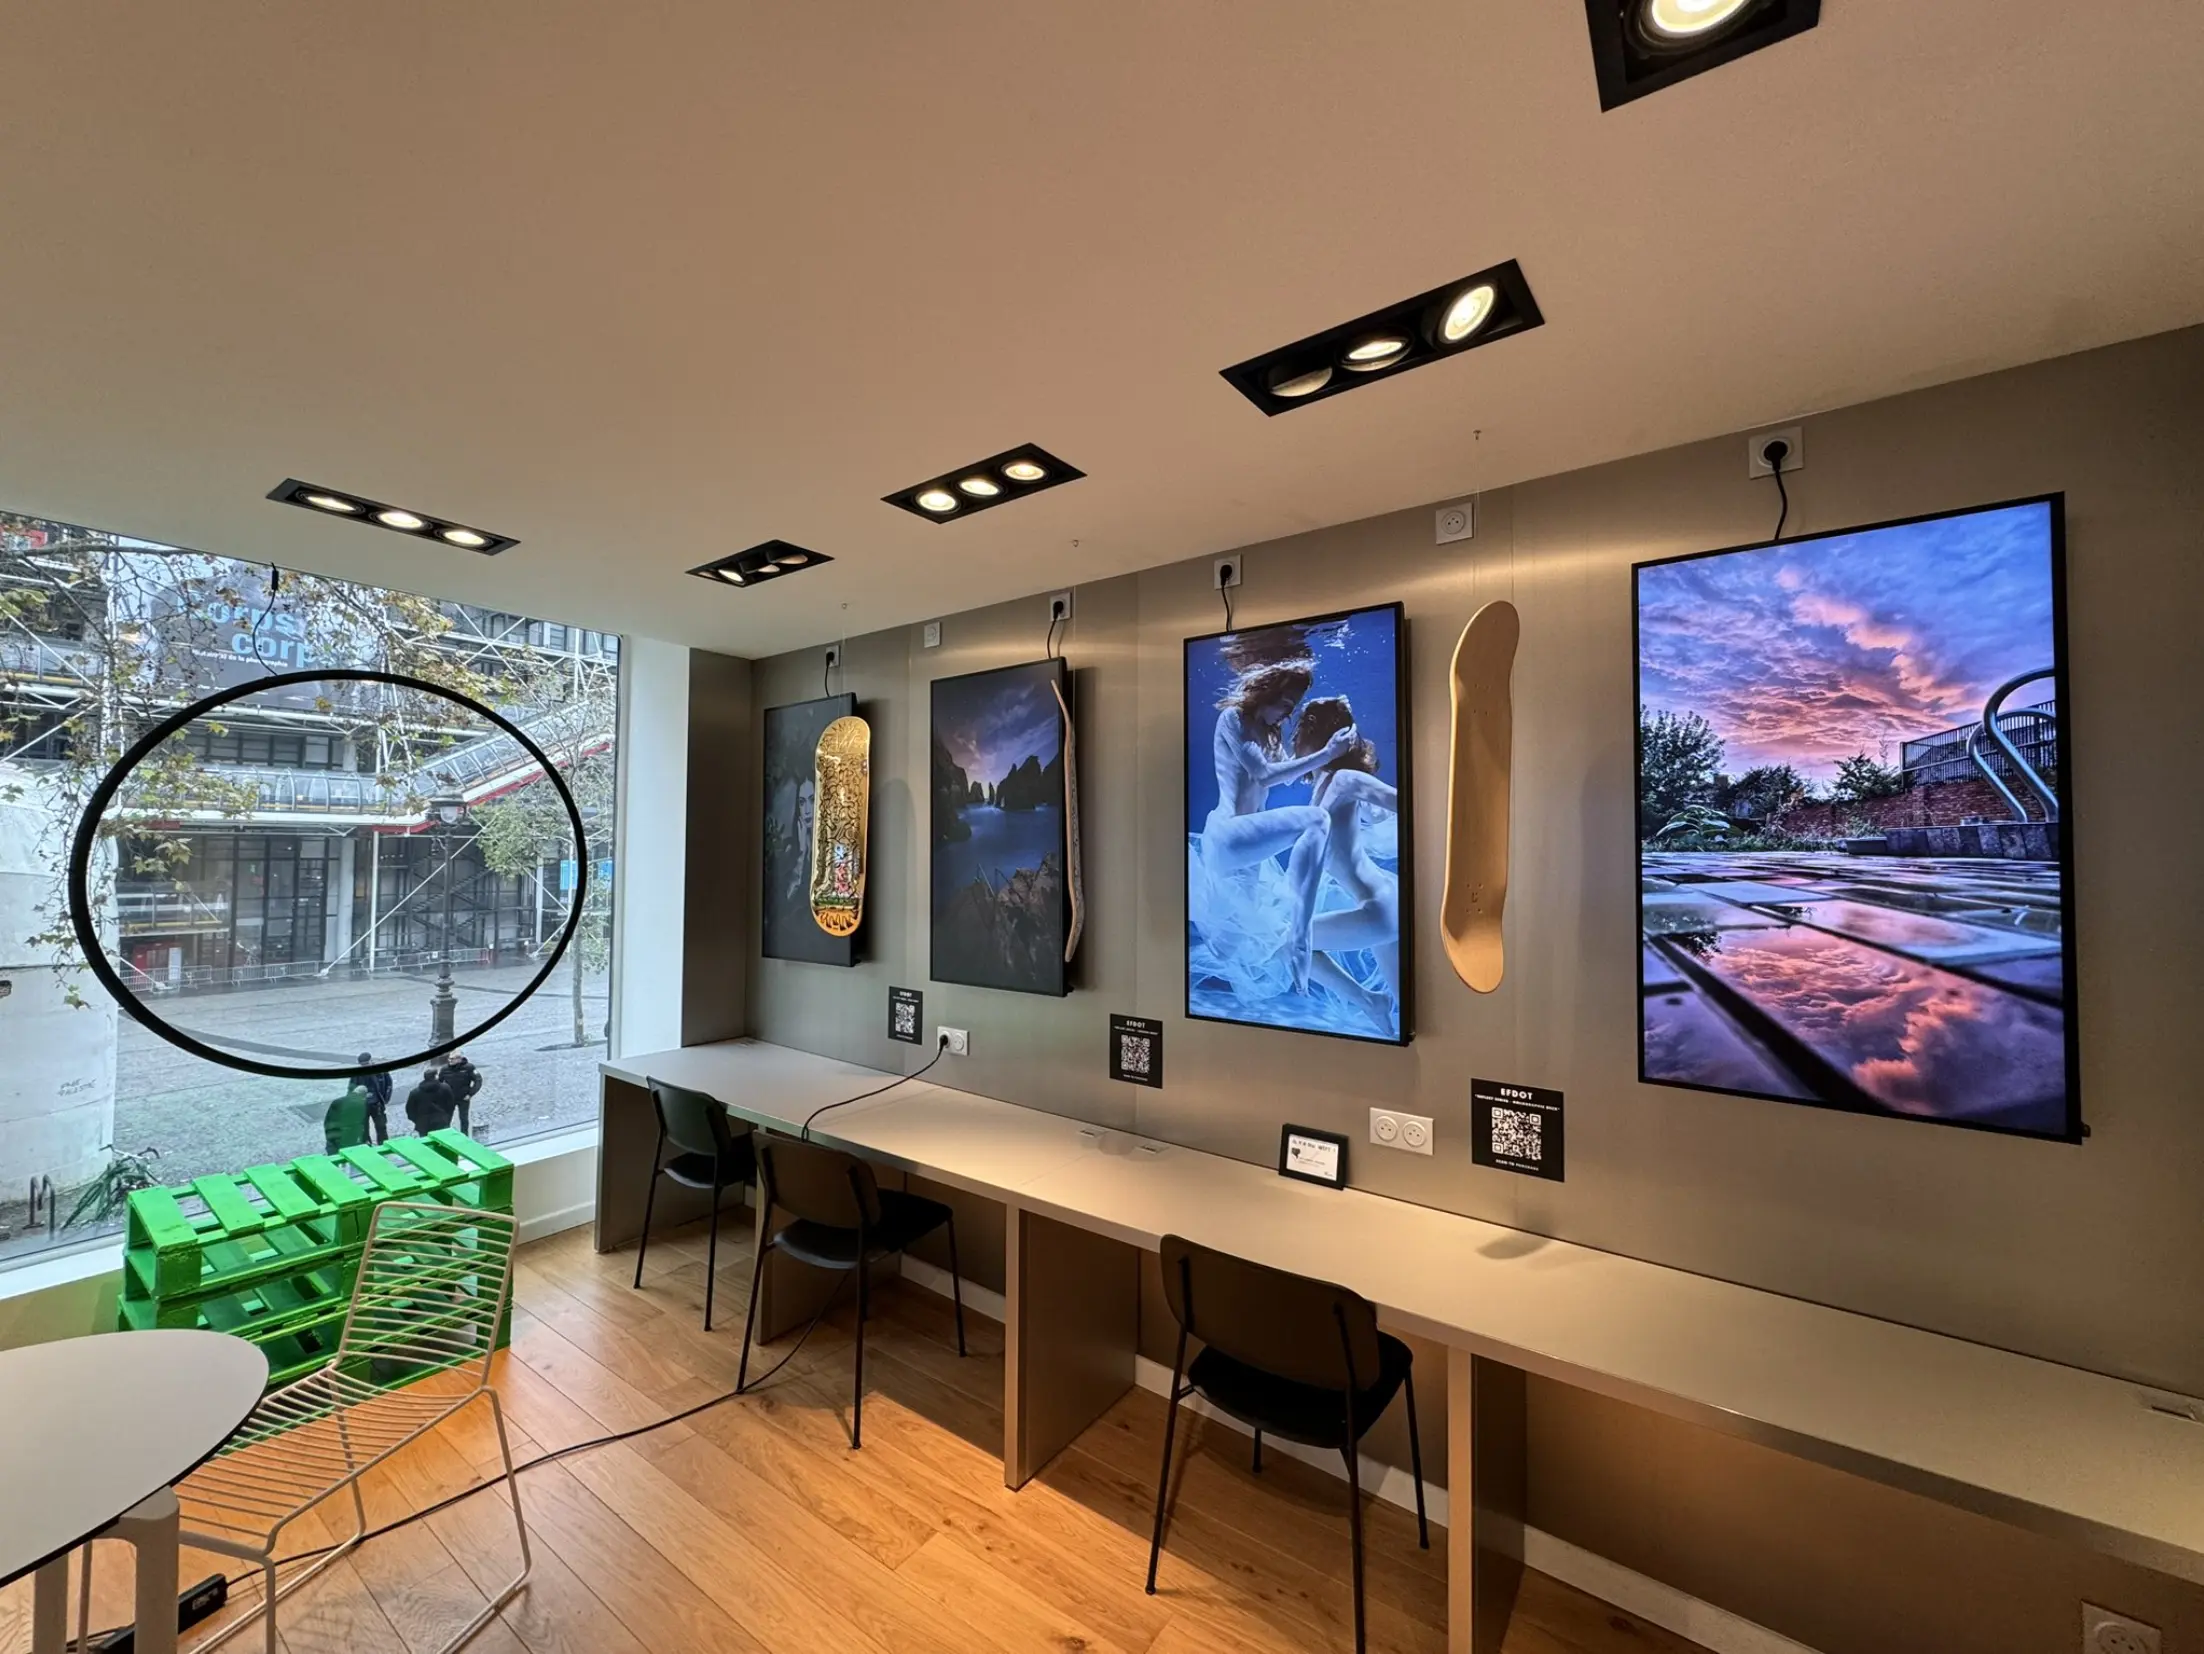
Your portfolio is not a storage unit for everything you have ever shot. It is an argument. It should make one clear point about your work, and everything in it should support that point. Strong photography portfolio tips do not start with image selection — they start with intention.
As one observer on Reddit noted: “Rather than create an image for an art show by understanding the show, its audience, the type of work they exhibit, and how your photography might fit, you pulled an existing image.” The difference between photographers who get accepted and those who do not often comes down to this one shift — building work for the show, not hoping existing work fits.
The 8-to-20 Rule
Select 8 to 20 images. Fewer than 8 and you have not made a case. More than 20 and you have diluted it. The exact number depends on the open call requirements, but the principle holds: a tight, focused series makes a stronger impression than an exhaustive archive.
Narrative Arc Over Chronology
Arrange your images to create a visual journey — an opening image that sets the tone, a middle sequence that develops the theme, and a closing image that lands the argument. This is not about telling a literal story. Abstract work can have an arc too — it is about rhythm, contrast, and resolution. A series that opens with a quiet image, builds to intensity, and closes with stillness reads as intentional. A series arranged by date shot reads as a folder.
The Artist Statement — Short, Specific, Human
Most artist statements are bad. They use words like “explore,” “interrogate,” “liminal,” and “juxtaposition” to say nothing. Curators have read ten thousand of these. Yours should be different.
A good artist statement is three to five sentences that answer:
- What is this body of work about — in plain language?
- Why did you make it — what specifically drove you?
- What should the viewer notice or feel?
Example of what works: “This series documents the light in abandoned Soviet-era factories in Estonia, shot over six trips. I was drawn to how the industrial geometry held up against decades of neglect — the rooms still felt designed, still felt intentional, even as the roofs caved in. The images are quiet. I wanted them to feel like the buildings were waiting for something.”
That tells a curator everything they need: subject, access (six trips = commitment), aesthetic intention, emotional register. No jargon. No “interrogating the liminal space between.”
Online Portfolio — Speed and Clarity Over Flash
Your website should load fast, show your best work immediately, and make it trivially easy to find your contact information and exhibition history. A dedicated “Exhibitions” or “Press” page with event name, city, venue, and date for each show is not vanity — it is credibility documentation for the next curator evaluating your submission.
Keep a downloadable PDF portfolio (10–15 pages) ready: selected works, bio, statement, exhibition history, contact links. You will need it for open calls that require file uploads, and it is faster to have it ready than to assemble it from scratch for every deadline.
A tight portfolio and a sharp artist statement get you accepted. Then the real work starts — getting your work onto the wall, across a border, and in front of an audience.
The Logistics Nobody Tells You About
The gap between “my work got accepted” and “my work is on the wall” is where most first-time exhibitors panic. Here is what you actually need to handle.
Printing for Exhibition
Exhibition prints are not the same as the prints you make for yourself. The lighting in a gallery is different from the light in your studio. The viewing distance is different. The expectations — from curators and from an audience that paid attention — are different.
- Print larger than you think you need. A 16×12 inch print looks substantial in your hands. On a gallery wall with 10 feet of viewing distance, it disappears. If the venue can accommodate it, 20×30 or larger makes an impression.
- Test prints are not optional. Order one test print from your lab before committing to the full series. Check color accuracy, shadow detail, and paper texture under lighting that approximates the gallery conditions.
- Use a professional lab. The quality gap between consumer-level prints and a professional photo lab is visible to anyone standing in front of the work. This is not the place to save $8 per print.
Framing and Mounting
Different exhibitions have different requirements. Some provide frames. Some want you to ship framed work. Some specify exact frame dimensions and finishes. Read the exhibition’s technical requirements carefully — showing up with the wrong framing is an expensive mistake.
If you are shipping framed work internationally, wooden frames scratch easily. Stack them back-to-back and glass-to-glass, wrap each pair in bubble wrap, then shrink-wrap the bundle. Place the wrapped bundles in individual boxes with foam padding at the corners. This sounds excessive until the first time a frame arrives cracked.
International Shipping
Ship prints flat, not rolled. Use a tracked courier — DHL or FedEx, not standard post. Label the package clearly with the exhibition name, your name, and contact details on the outside. Some galleries provide shipping labels or reimburse costs — ask before you ship. Always insure shipments for their full replacement value.
Shipping costs for a set of framed prints can range from $80 for nearby countries to $400+ for intercontinental destinations. Build this into your exhibition budget before you submit.
Exhibition Labels and QR Codes
Knowing how to label photography for exhibition signals professionalism. A clean label with the work’s title, your name, the medium, and the year tells the curator and the audience that you take the exhibition seriously. Adding a QR code that links to a page about the image — the story behind the shot, the location, the technique — gives visitors a reason to spend more time with your work. It also gives them an easy way to find you online afterward.
Logistics are universal, but curatorial expectations are not. Every country has its own art language, and learning to speak it changes where your work lands.
What I Learned from Exhibiting in 14 Countries
Every country’s art scene has its own rhythm. Here is what I picked up across the different curatorial cultures:
France (Paris). Curators value conceptual clarity above all else. Your artist statement matters as much as your images. If you cannot articulate your intent clearly, the work will not land — no matter how strong the photographs are.
United States (New York, Miami). Speed and impact. The art scene moves fast and curators see an enormous volume of work. Your first image in the series has to grab attention immediately. The opening of your statement has to land in the first sentence.
Italy (Milan). Design sensibility runs deep. Presentation quality — paper choice, framing, installation — carries more weight here than in most other markets. A beautifully printed image on cheap paper reads as careless.
South Korea (Seoul). Highly curated, technically demanding. Korean galleries expect flawless print quality and precise color accuracy. The standard for physical presentation is among the highest I have encountered.
Singapore, Indonesia, China. The art market in Asia is growing fast and curators are actively looking for international photographers. The opportunity-to-competition ratio is favorable — fewer Western photographers submit to Asian open calls, which means less competition for those who do.
Knowing what curators in different countries expect prevents mistakes. But some mistakes are universal — every first-time exhibitor makes at least one of them.
What Photographers Actually Say About Exhibiting
Theory is useful. But the real texture of exhibiting internationally lives in the conversations photographers have after their first rejection, their first acceptance, and their tenth show. Here is what the community actually says — drawn from real threads on r/photography, which has nearly 700,000 weekly visitors.
On rejection. One photographer who has been entering a local arts show for 15 years wrote: “I am consistently surprised by the pieces that make it in. Everyone has their own biases of work that they like. This was as likely judges not liking black and white portraits as anything more informative of your piece.” Another added: “I have been accepted a few times to a local art show and then rejected other years. It comes down to the preference of the judge and it’s nothing to lose sleep over.”
On persistence. A photographer shared: “I have a very talented friend who didn’t get accepted into a local art show. He continued to work on his portfolio and the next year he got into four shows. He’s had a lot of success since.” Four shows in one year — from a single rejection.
On gear. One fine art photographer with work exhibited across the country said: “I have work exhibited all over the country and I’m using a 20 year old digital camera and a single 35mm lens.” Another put it bluntly: “Your equipment does not have an expiration date like milk.”
On the cost trap. That same thread surfaced a warning: “I spent a good amount between the registering fee, framing, and printing.” The photographer got rejected — and the money was gone. This is why understanding open call economics before submitting matters: the fee is only the first line item.
On juror POV. A photographer who has juried multiple international exhibitions explained: “I’ve had Polaroid prints thumbtacked to a backing get accepted to a national exhibition and sell.” Presentation matters, but a strong image trumps an expensive frame every time.
These voices surface the same themes over and over: rejection is normal, persistence is the differentiator, and gear is never the reason someone gets in or gets rejected. The photographers who succeed are the ones who treat each rejection as a data point, not a verdict.
Common Mistakes That Cost Time, Money, and Opportunities
Spotting these patterns early is what separates a photographer with a growing exhibition record from one who gives up after two rejections. Here are the mistakes I see repeated — and have made myself.
Mistake 1: Submitting Without Reading the Theme
If an open call has a stated theme — “Urban Solitude,” “Water,” “Identity” — submit work that actually addresses that theme. Curators reject off-theme submissions without looking past the first image. Do not take a series you already have and stretch its description to fit. Either submit work that belongs, or wait for a call that fits.
Mistake 2: Ignoring Technical Requirements
If the call specifies 300 DPI, sRGB color space, and files named LastName_FirstName_Title.jpg, do exactly that. Curators use technical compliance as a first-pass filter: photographers who cannot follow submission instructions are assumed to be difficult to work with on everything else. This filter is unfair but real — and it costs nothing to pass.
Mistake 3: Submitting Your Entire Portfolio
More images do not equal a stronger submission. A focused series of 8 images that belong together beats 20 images that cover every genre you have ever shot. Curators are looking for a voice, not a resume.
Mistake 4: Neglecting Your Online Presence After Acceptance
When you get accepted, post about it. Tag the gallery, the curator, the other artists. Share installation shots during the exhibition. Post a wrap-up after. An exhibition that exists only in the physical room misses the largest audience it could reach. The gallery benefits from your promotion — and they remember the photographers who help fill the room.
Mistake 5: Treating a Rejection Like a Verdict
I have been rejected from exhibitions that later accepted me. I have been accepted to shows that rejected photographers I admire. Curation is subjective, contextual, and often constrained by factors you cannot see — the curator needs three more pieces in a specific color palette, or already has two photographers working in your style, or the timeline shifted and your submission arrived on the wrong day. One Reddit photographer summed it up: “Perseverance is something that is as important as technical ability. Because no one ever gets anywhere if they quit after their first rejection.” Submit. Track. Move on. Repeat.
Spotting these flags early is what separates a clean, growing exhibition record from chasing ghosts — and the photographers who learn to recognise them stop losing time and money to mistakes they cannot afford to repeat.
Before Your First Submission — A Quick Checklist
You do not need everything on this list to be perfect. But if you can check five or more boxes before you hit submit on your first open call, your odds improve dramatically.
Your portfolio
- 8–20 images united by a clear theme or visual language - Narrative arc: opening image, middle sequence, closing image - Artist statement: 3–5 sentences, plain language, no jargon - High-resolution files named `LastName_FirstName_Title.jpg` - Test prints ordered from a professional labYour online presence
- Website loads fast, shows best work above the fold - Dedicated "Exhibitions" or "Press" page with past shows - Downloadable PDF portfolio (10–15 pages) ready - Contact information easy to find - Instagram or portfolio platform updated and consistent with your submissionYour submission system
- Spreadsheet tracking: open call name, deadline, fee, theme, result - Two series ready: one submitting, one in development - Submission calendar: 2–4 per month, deadlines noted - Budget calculated: submission fee + printing + framing + shipping - Technical requirements of the specific open call verified (DPI, color space, file naming, framing specs)Your mindset
- You expect rejection — not as pessimism, but as mathematics - You are submitting to shows that fit your work, not stretching work to fit a show - You have read the theme. You are not the person who submits a portrait to a landscape-only call - You plan to attend the opening if accepted — even if it means a flight - You will post about the acceptance. The exhibition that exists only in the physical room misses its largest audienceTwenty boxes. You do not need all of them checked before your first open call. But every box you can tick is a mistake you will not make — and a signal to the curator that you belong on their wall. Here is what all of this adds up to.
Final Verdict — Exhibiting Internationally
Exhibiting your photography internationally is not a lottery for the well-connected. It is a system you can learn. Start with group shows and digital exhibitions to build a record. Keep a focused, coherent portfolio ready at all times. Submit consistently — two to four times a month — and treat rejection as data, not failure. The photographers who exhibit regularly are rarely the most talented. They are the most persistent. This gap alone makes the path straightforward for anyone willing to stay in the game long enough to learn it.
If you are a photographer who also works with models, having your model releases handled before you even leave the set means one less thing to chase while you are preparing for your next exhibition. At SnapSign, we built the app to handle exactly that — model releases, property releases, and 2257 compliance documents, signed on any device, stored securely in one place. You focus on the work. We handle the paperwork.