How I Went From Photographer to Filmmaker With No Budget or Experience
An honest guide for photographers who want to make their first short film – and don’t know where to start. As an analog photographer, I’ve been lucky to see my work published in Playboy, Vogue, and exhibited in cities like Paris, Milan, and New York. I had a strong portfolio, a working website, and thousands of photos that told my story. But something was missing. Photos can capture a moment, a mood – even a lifetime. But they don’t always reveal you. Your voice. Your process. Your philosophy. That's the reason I chose to create a movie. I lacked a budget, any gear, and experience in making films. However, I came up with a concept. And a story worth telling.
Now, I’ve completed two short documentary films, both selected by international film festivals - and I’m here to tell you exactly how I did it, step by step. This guide is for photographers, creators, or anyone who wants to turn their creative work into a short film - with zero filmmaking background.
1. Start With the Why (Your Filmmaking Motivation)
Prior to writing a script, consider the question: What motivates me to create this film?
My goal was simple: I wanted a short film I could send to galleries, magazines, festivals – or just include in my Instagram bio – to show who I am as an artist. Not just what I shoot, but how I think and feel behind the camera. Your “why” is your foundation. If you’re just chasing views or trying to impress others, you’ll burn out fast. But if you make something meaningful, it will resonate – even if it’s raw or imperfect.
2. Write the Vision, Not the Script (Beginner Filmmaker Tip)
A common myth is that you need a detailed, Hollywood-style screenplay. You don’t. For both of my films The Heart of Photography and Analog Waves, I started with a simple Google Doc:
- • What I wanted to show
- • People I wanted to include
- • Key themes or emotions
- • A loose structure (start, middle, end)
Then I showed it to a friend with filmmaking experience. He helped shape it into a narrative flow.
Tip: Don’t overthink it. Start messy. Share your ideas early. Collaborate.
3. Build a Crew You Trust (Even on No Budget)
Forget hunting for the most expensive DP or renting a RED camera. The real challenge is finding someone who cares about your story. I found my cinematographer among my friends. He had screened films at Cannes, won accolades, and shared my enthusiasm for indie projects. He believed in the vision, even without money. He helped me shoot and edit both films – for a symbolic fee. We stayed up late, filmed in heat and rain, and built something we both take pride in.
If you’re just starting out:
- • Ask your creative friends
- • Offer collaborations
- • Look for students or indie filmmakers who want to build their reel
- • Be kind, organized, and clear with your vision
People will say yes if your energy is right.
4. Plan Your Locations Smartly (Low-Budget Filmmaking Hack)
Both my films were shot in 6–7 different locations. That meant planning carefully: making sure everyone could show up, that light was right, and weather didn’t ruin the day. My first film was shot locally – easy, simple, manageable. My second, Analog Waves, was filmed in Sri Lanka – and that came with chaos:
- • unpredictable surfing conditions
- • tropical rains
- • travel expenses
- • overheating gear
Lesson: If you’re making your first short film, start local. Shoot where you feel comfortable. Keep logistics simple.
5. Casting: Use Your Own Network for Real Stories
I had an advantage – I worked with models and studios already. So I reached out to people I trusted. If you don’t have that, start by filming:
- • yourself (voiceover + b-roll works perfectly)
- • your daily routine as an artist
- • behind-the-scenes of your shoots
- • friends or clients who are comfortable on camera
You don’t need professional actors. You need real people with real stories.
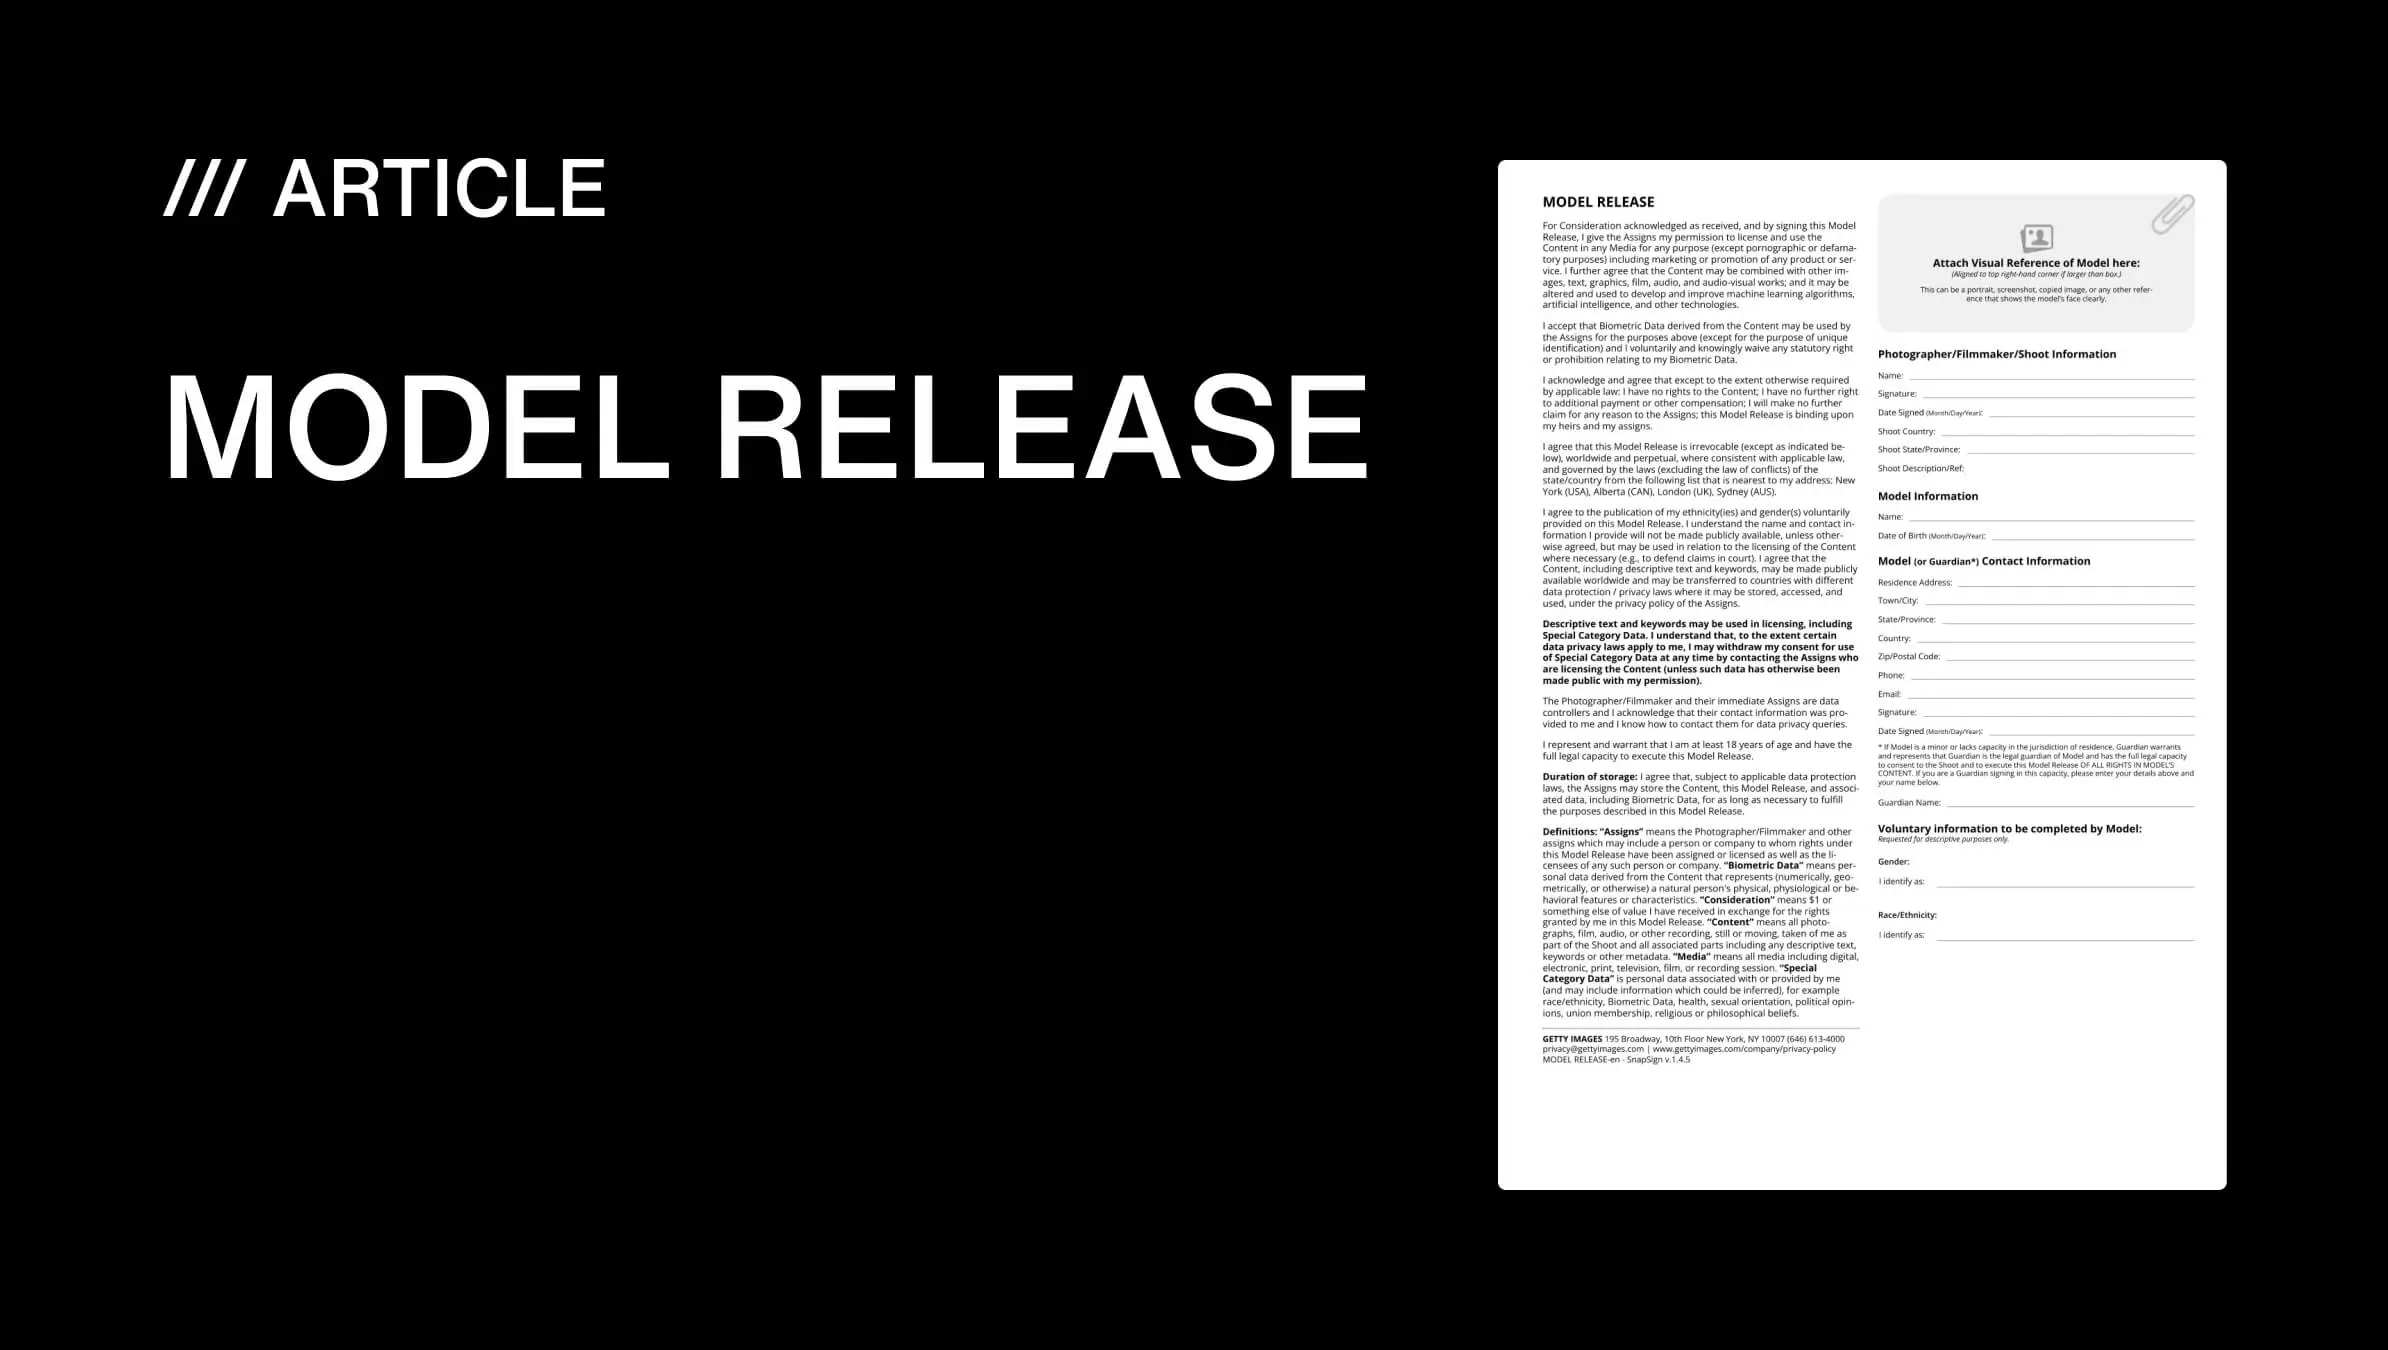
Important: Always get permission in writing. I used SnapSign (an app I originally built for photographers, but it works perfectly for filmmakers). It lets you build and sign contracts on your phone – no printers, no PDFs, no stress. Protecting your project makes it look professional, even if it’s your very first film.
6. Sound and Music: Don’t Skip This (Half Your Film’s Power)
Sound is 50% of your film’s emotional impact. Maybe more. For The Heart of Photography, I recorded a voiceover instead of memorizing lines on camera. Then we paired it with licensed music from Artlist.
Pro tip:
- • Use royalty-free platforms (Artlist, Epidemic Sound, etc.)
- • Avoid commercial tracks unless you want copyright trouble later
- • Even a no-budget film feels premium with great sound
7. Poster, Font & Style: Think Like a Brand
When it came time to design posters:
- • For my first short film, a friend did it for free.
- • For the second, I hired a professional designer (worth every cent).
Typography, titles, subtitles – they matter. Luckily, my wife is a designer, so she helped with layout and fonts.
Pro tip: Choose a clear, minimal visual style and keep it consistent across poster, film titles, and social media. It makes your project feel like a brand.
8. Title: Choose With Care (Naming Your Film)
Naming your film is part of its soul.
Tips for naming your short film:
- • Keep it short and memorable
- • Match tone (documentary, moody, playful, etc.)
- • Avoid clichés like “Untitled Project” or “My Story”
9. No Budget Filmmaking Tips: Be Transparent, Be Creative
Let’s be real – indie filmmaking isn’t free. Even if nobody charges you, there are hidden costs:
- • transport
- • food for crew
- • external drives
- • maybe rental gear
For Analog Waves, expenses were higher since we shot abroad. But I treated it as a long-term investment. If you can, save $500–1000. But even with $0, you can barter, collaborate, and trade skills (like photography).
10. Editing Tips for Your First Short Film
Editing is where your story truly comes alive. Your editor will build a rough cut (assembly), then refine it with your feedback. In my case, my DP was also the editor – which made everything smoother.
Stay involved:
- • Review every cut
- • Check pacing, sound, and clarity
- • Give constructive feedback, not vague “I don’t like it”
11. Film Festivals: How a Short Film Can Go Global
At first, my films were just portfolio pieces. But a friend told me about FilmFreeway, so I submitted. To my surprise, both films were accepted by international festivals.
That single step:
- • Got my work screened in Europe and Asia
- • Brought feedback from judges
- • Opened doors for new collaborations
If you’re serious:
- • Get a FilmFreeway Gold subscription ($10–12/month)
- • Submit to 5–10 reputable festivals (check reviews, avoid scams)
- • Be patient – festivals often take months to reply
Final Thoughts: Beginner Filmmaking Advice
If you’ve made it this far, thank you. Here’s what I wish someone had told me earlier:
- • You don’t need permission. Or a film school diploma. Or a Netflix deal.
- • Use what you already have: your phone, your friends, your story.
- • Be honest in your storytelling. That’s what connects – not budget or gear.
- • Start small. Finish something. Then start again.
My Challenge to You (Your First 3-Minute Film)
Shoot a 3-minute short film about your creative journey.
1) Use only your phone.
2) Record a voiceover or talk on camera.
3) Add royalty-free music.
4) Share it with one friend for feedback.
5) Upload it. Submit it. Share it.
The world deserves to hear your voice – not just see your pictures.


